Step One
The first step is making sure you have all your equipment, supplies and recipe handy. Preparation is critical due to the time constraints once started. Ill post a equipment listing with where to buy and cost to get started.
Step Two
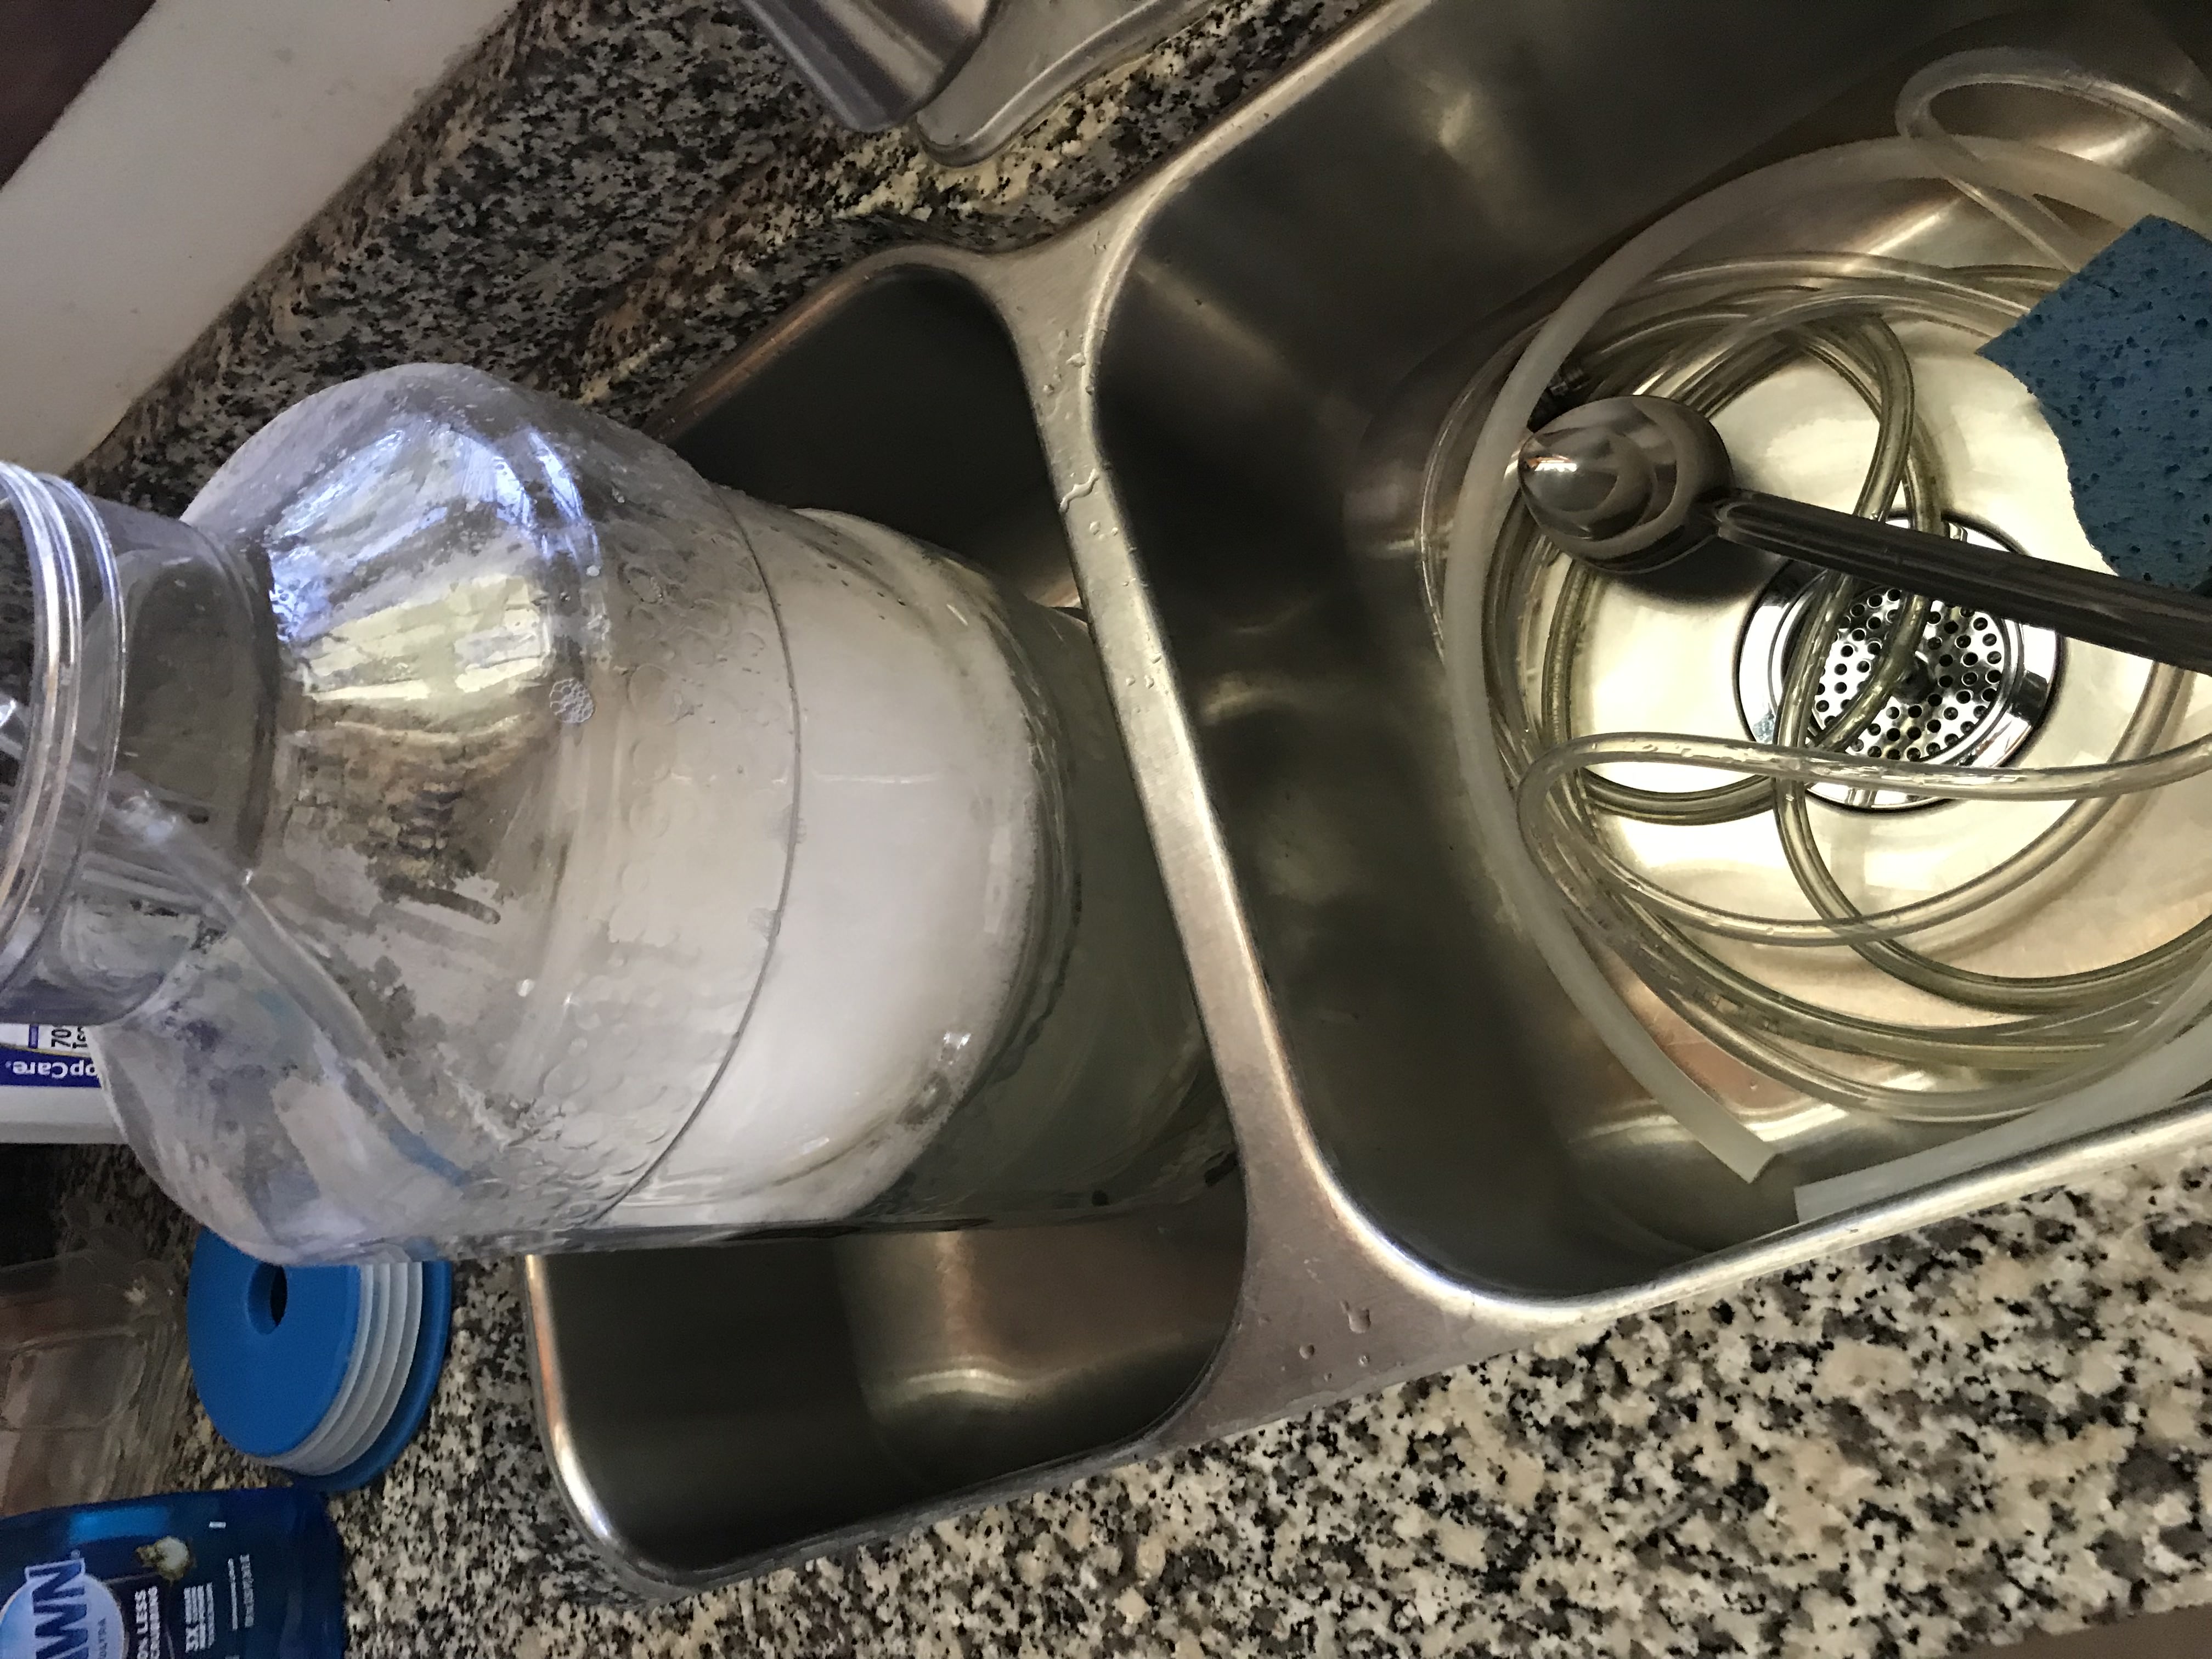
Now that you have the equipment you need, it needs to be "sterile" so youll need some sanitizer to clean your equipment. This can NOT be overemphasized! If your equipment is not clean and kept clean throughout the entire process, you will end up brewing penicillin instead of Wort. " When in doubt, scrub it out"
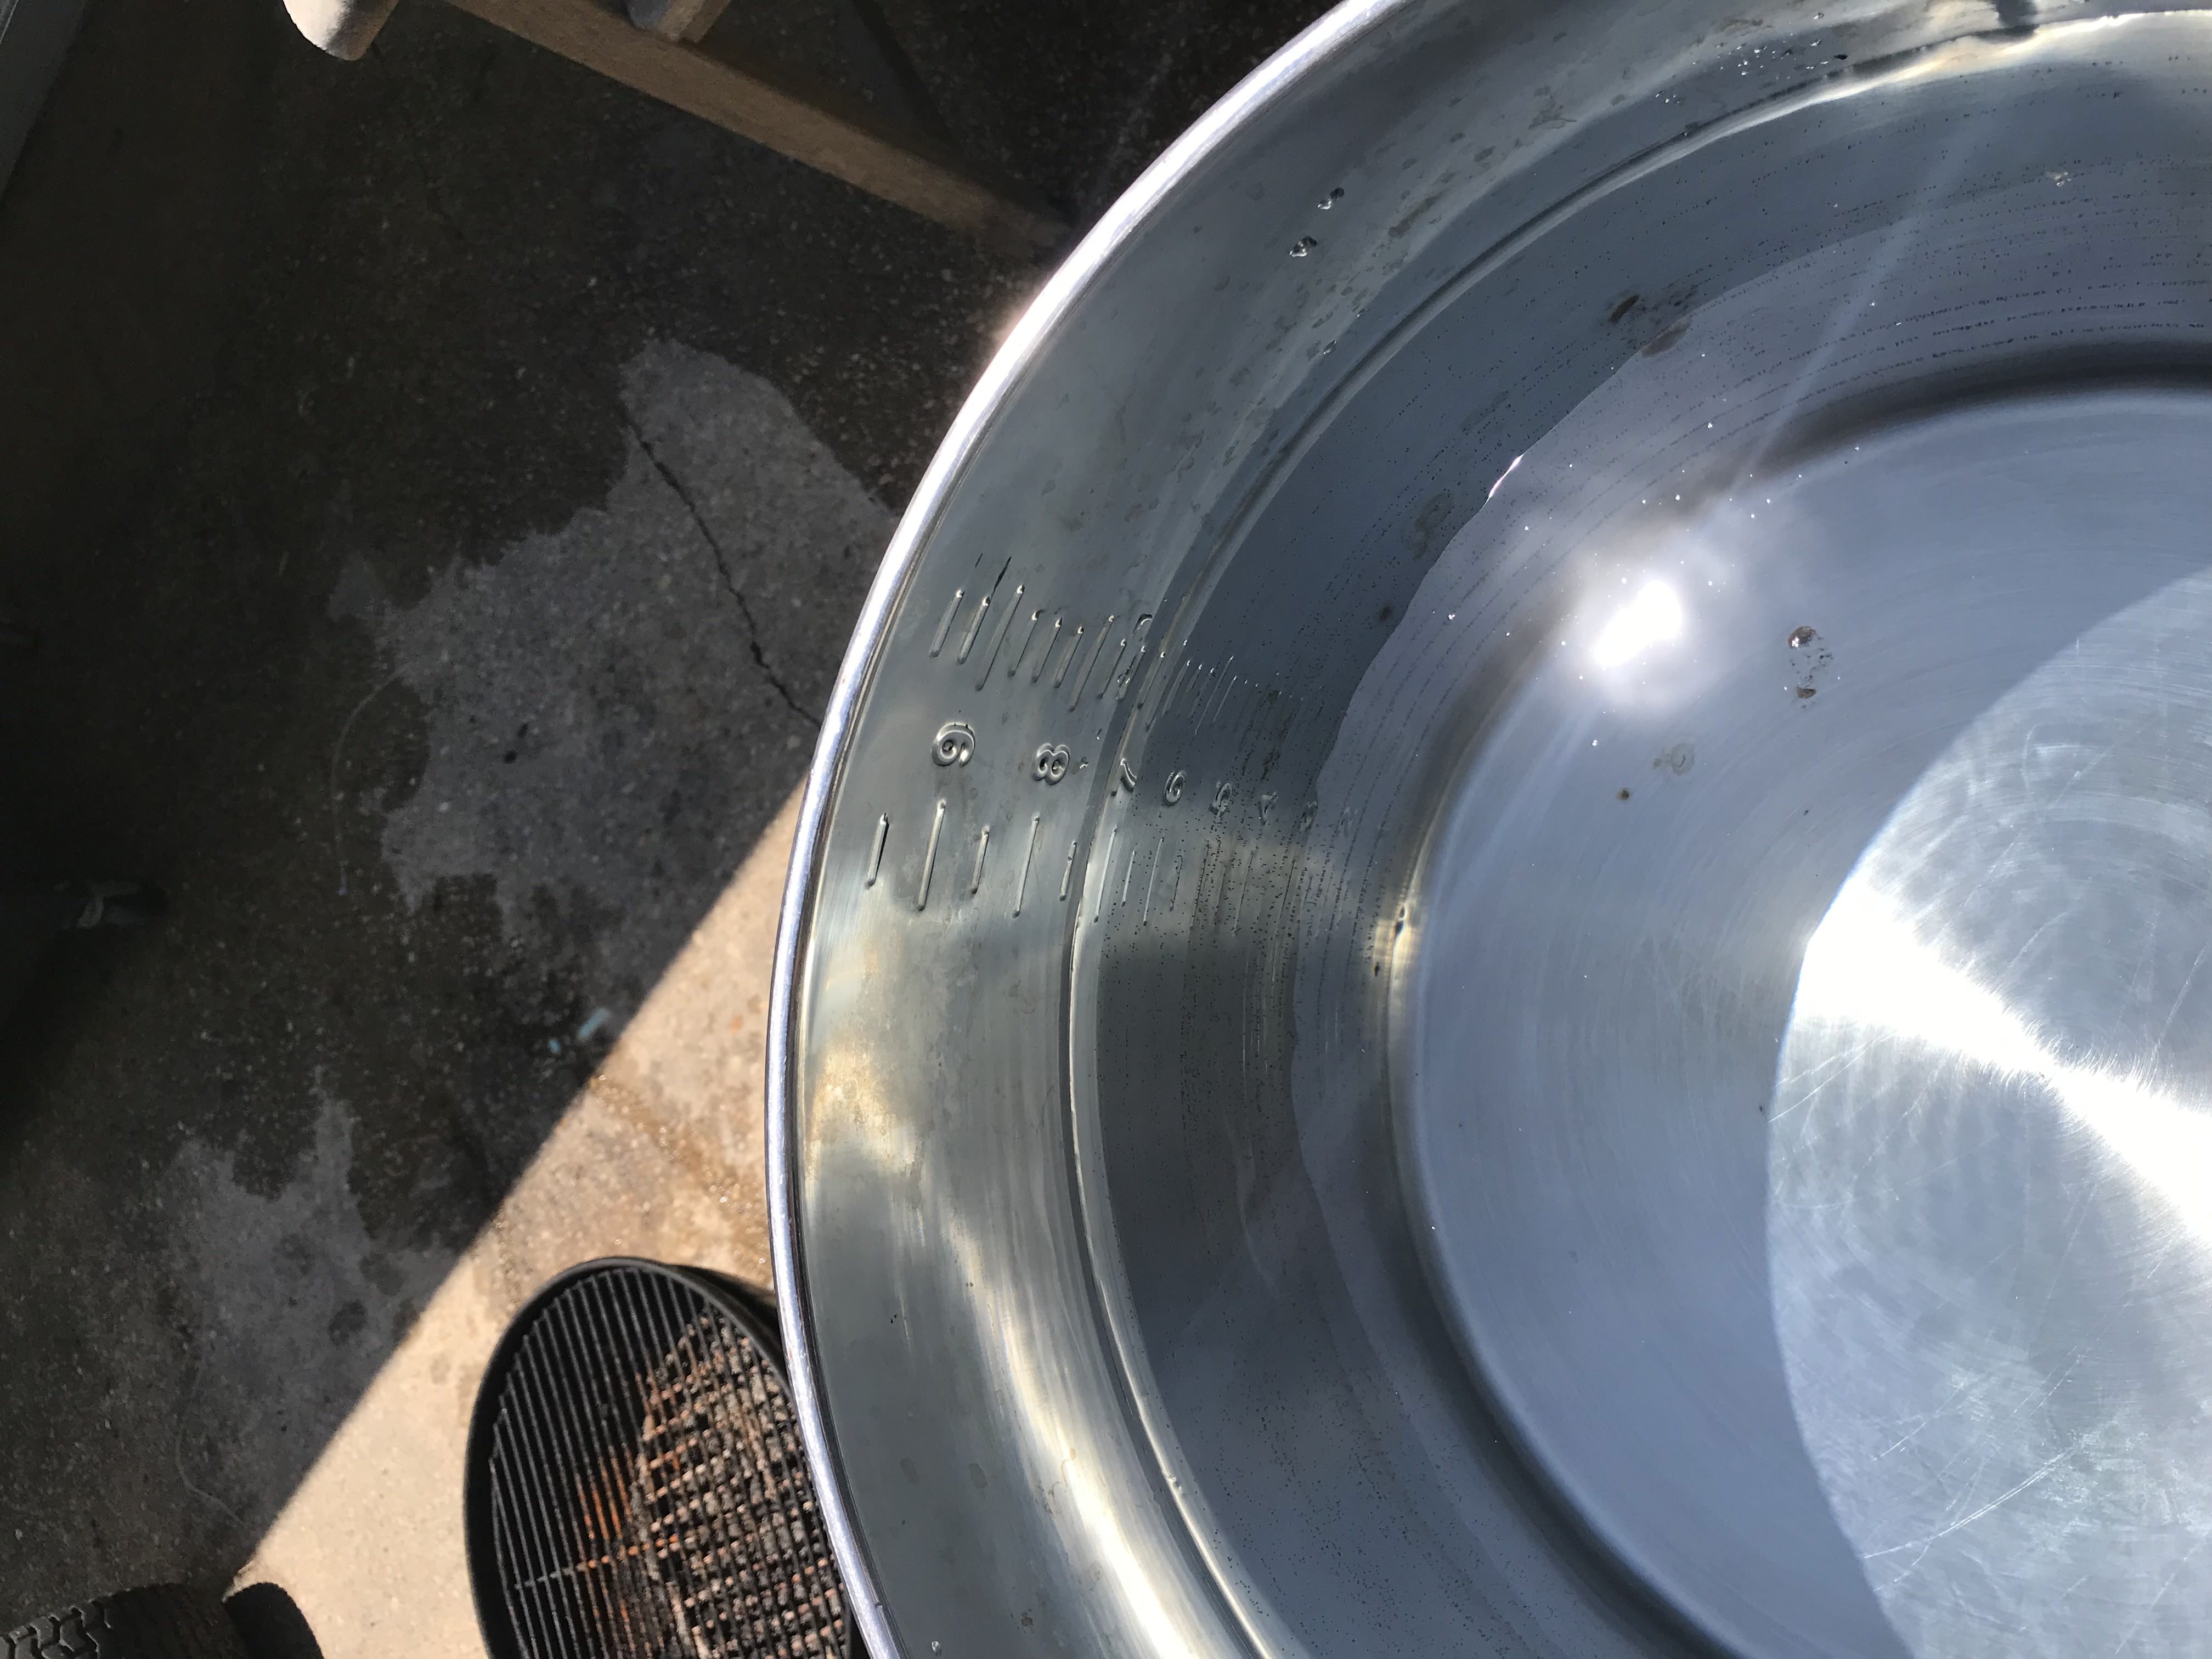
Step Three
Acquire good clean water (NOT DISTILLED). A good water to use is Spring water. You'll need about 10 Gallons. You can use tap water, but it will have chlorine, fluoride, etc., that your yeast does not work well with, so get a good clean source that has the minerals and PH factor of around 5 to 6 ppm. After all 80% of your Beer consists of water, so you want it clean and to the style of beer your creating.
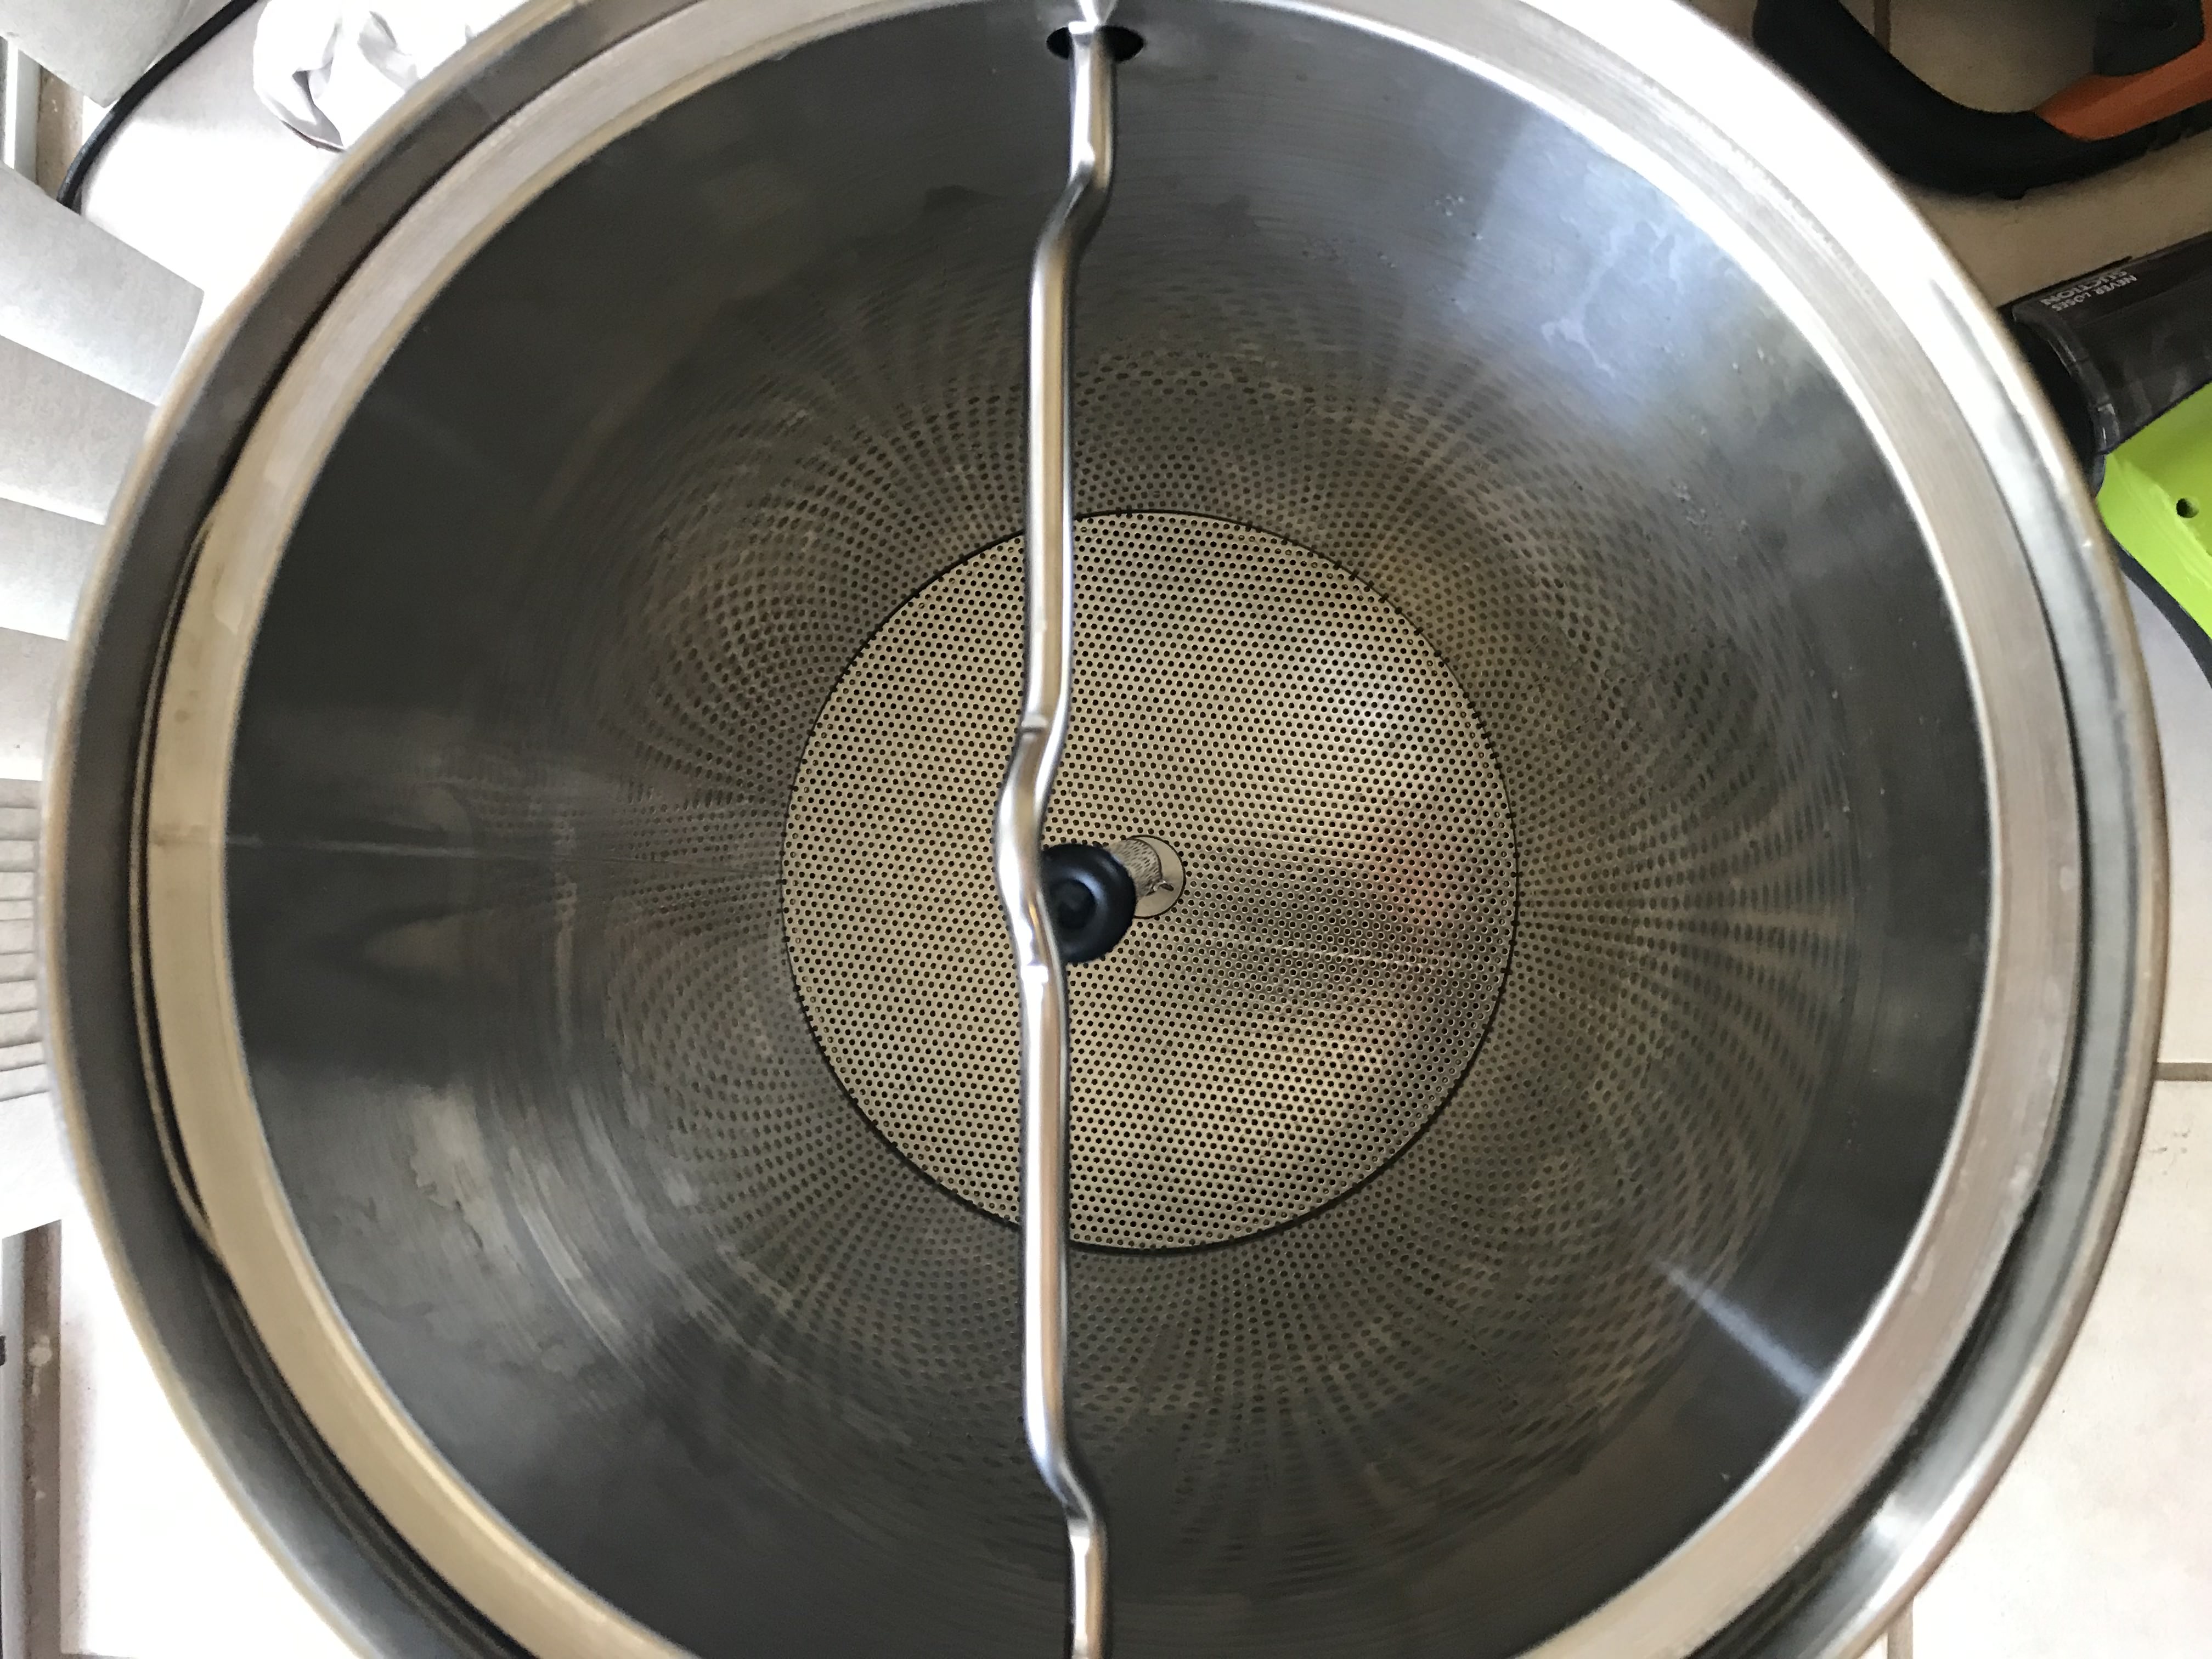
Step Four
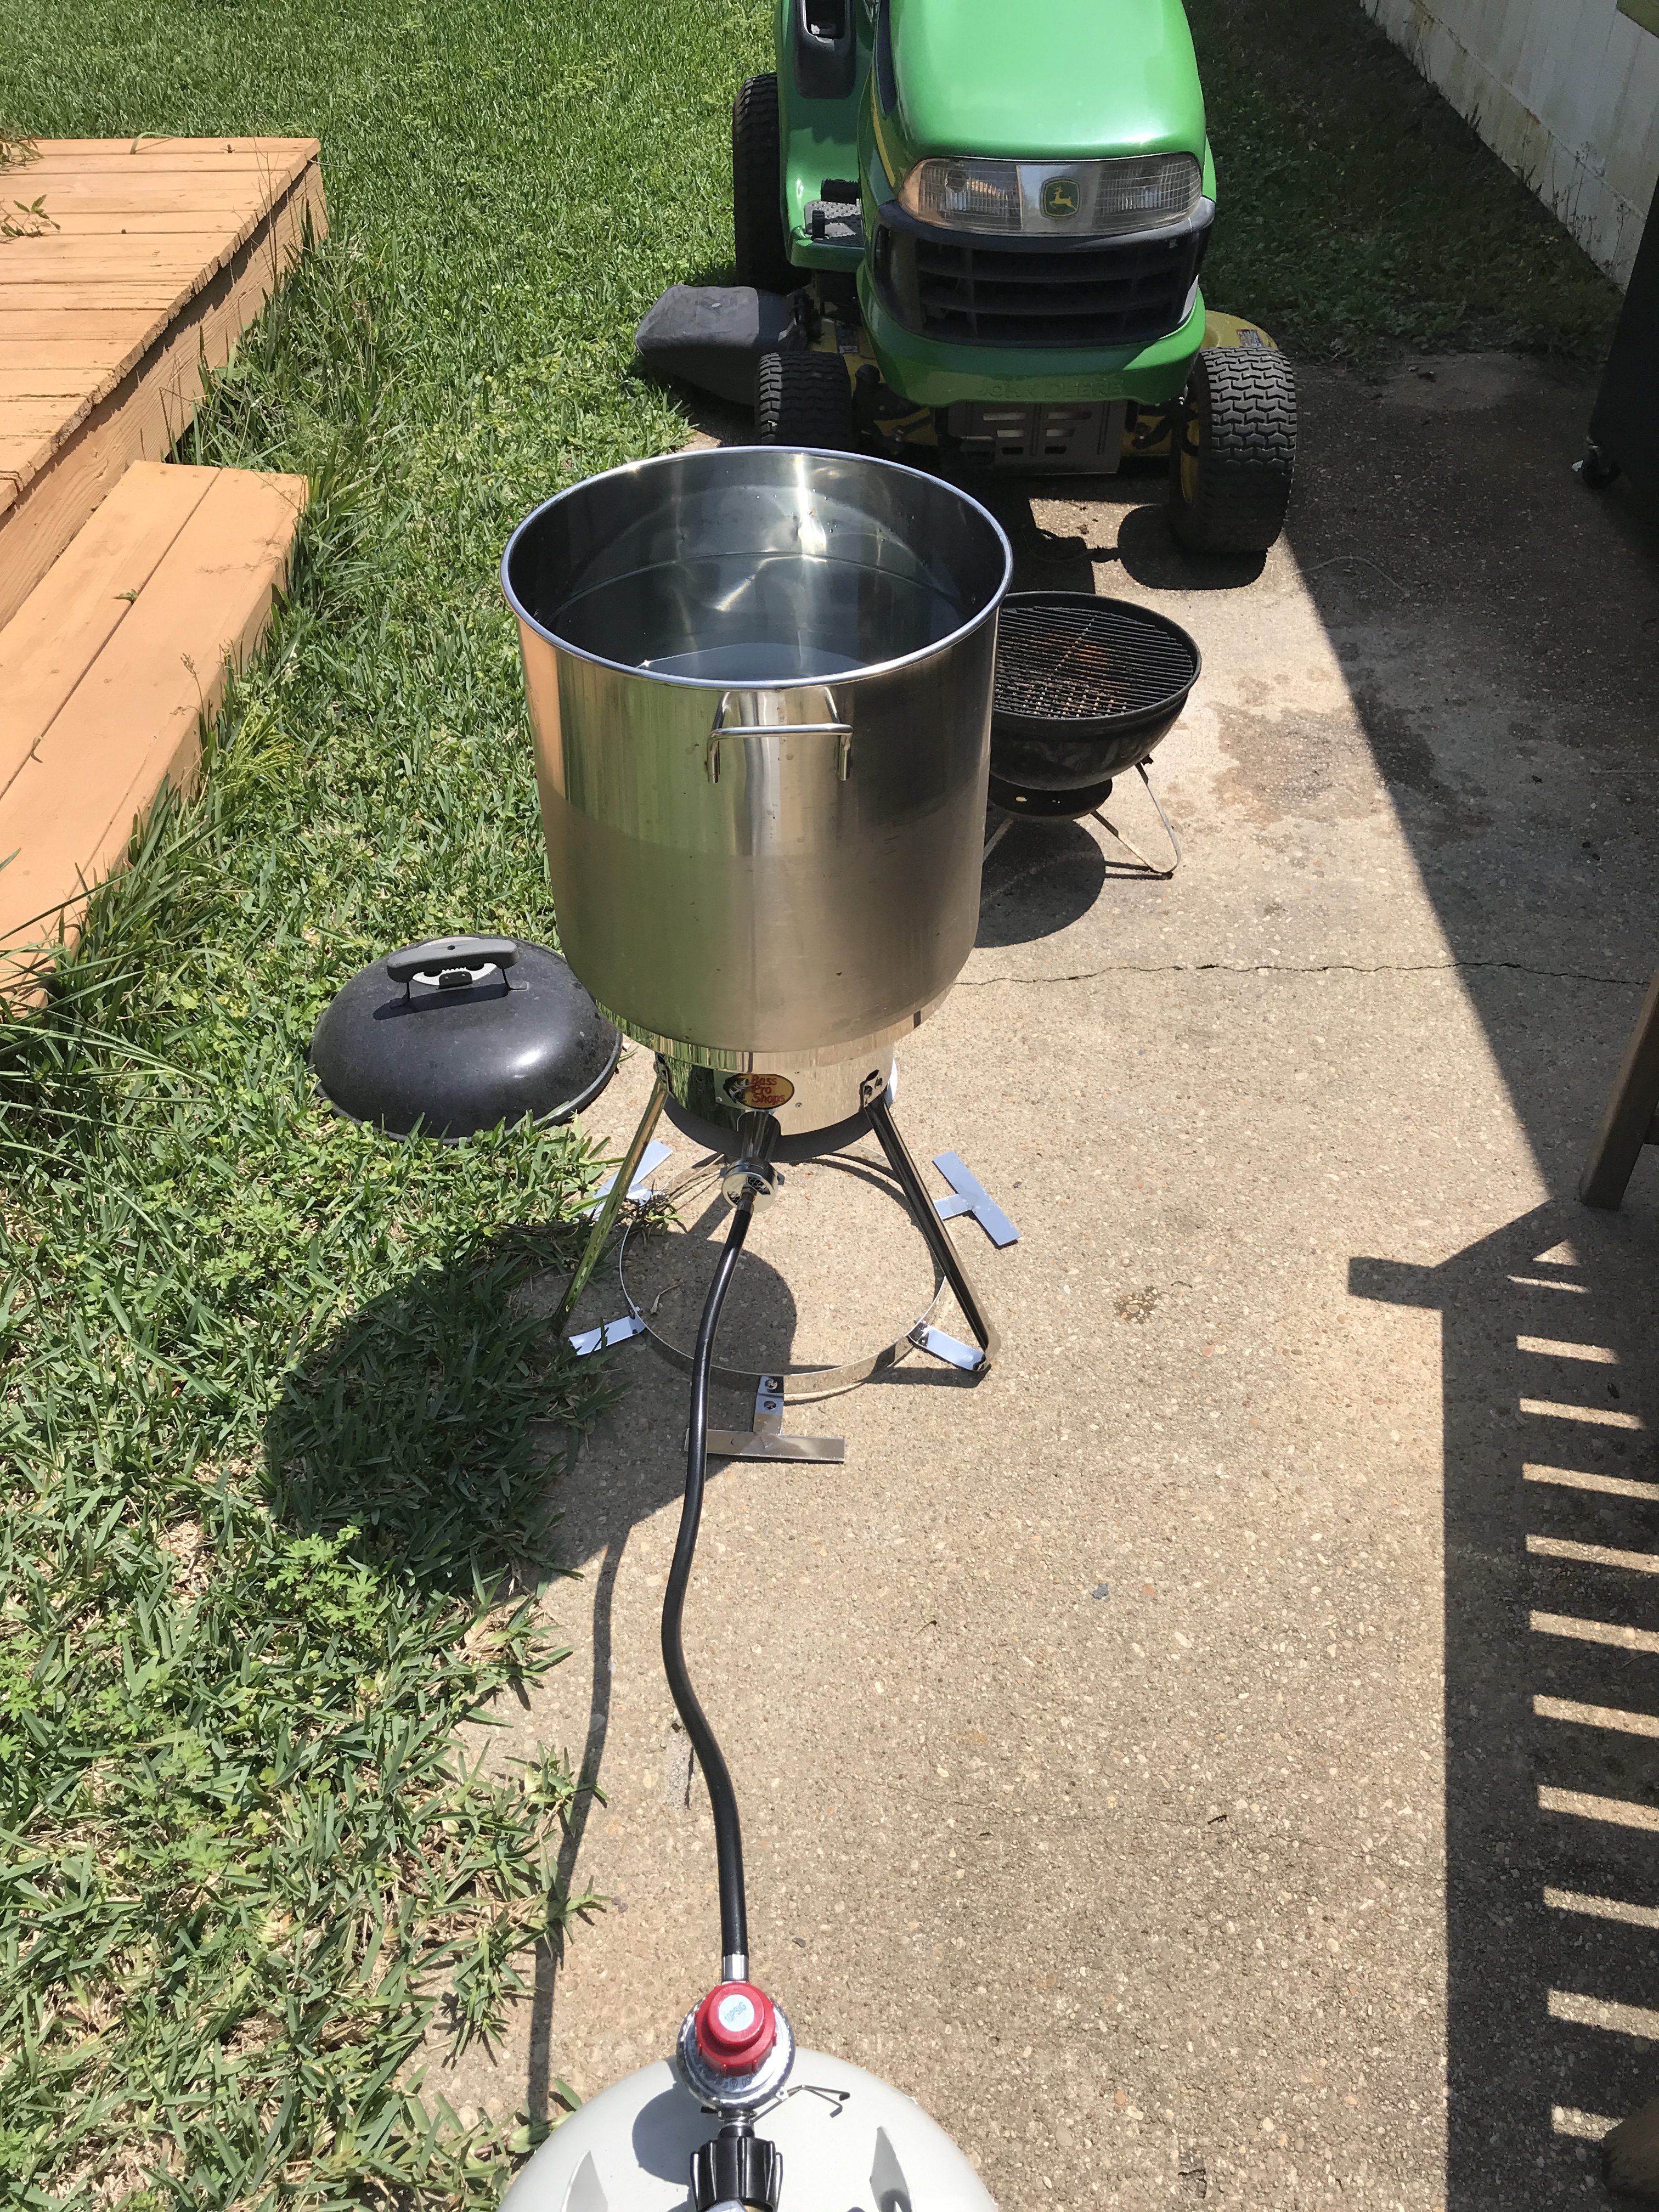
Boil at least 8 gallons of water to 170F at least to kill off and clear out the contaminates. You need a large 10 Gallon pot to hold hot water. This hot water will be used to make Wort and depending on your set-up, it will be your "strike" water and "Sparge" to add as needed throughout the process.
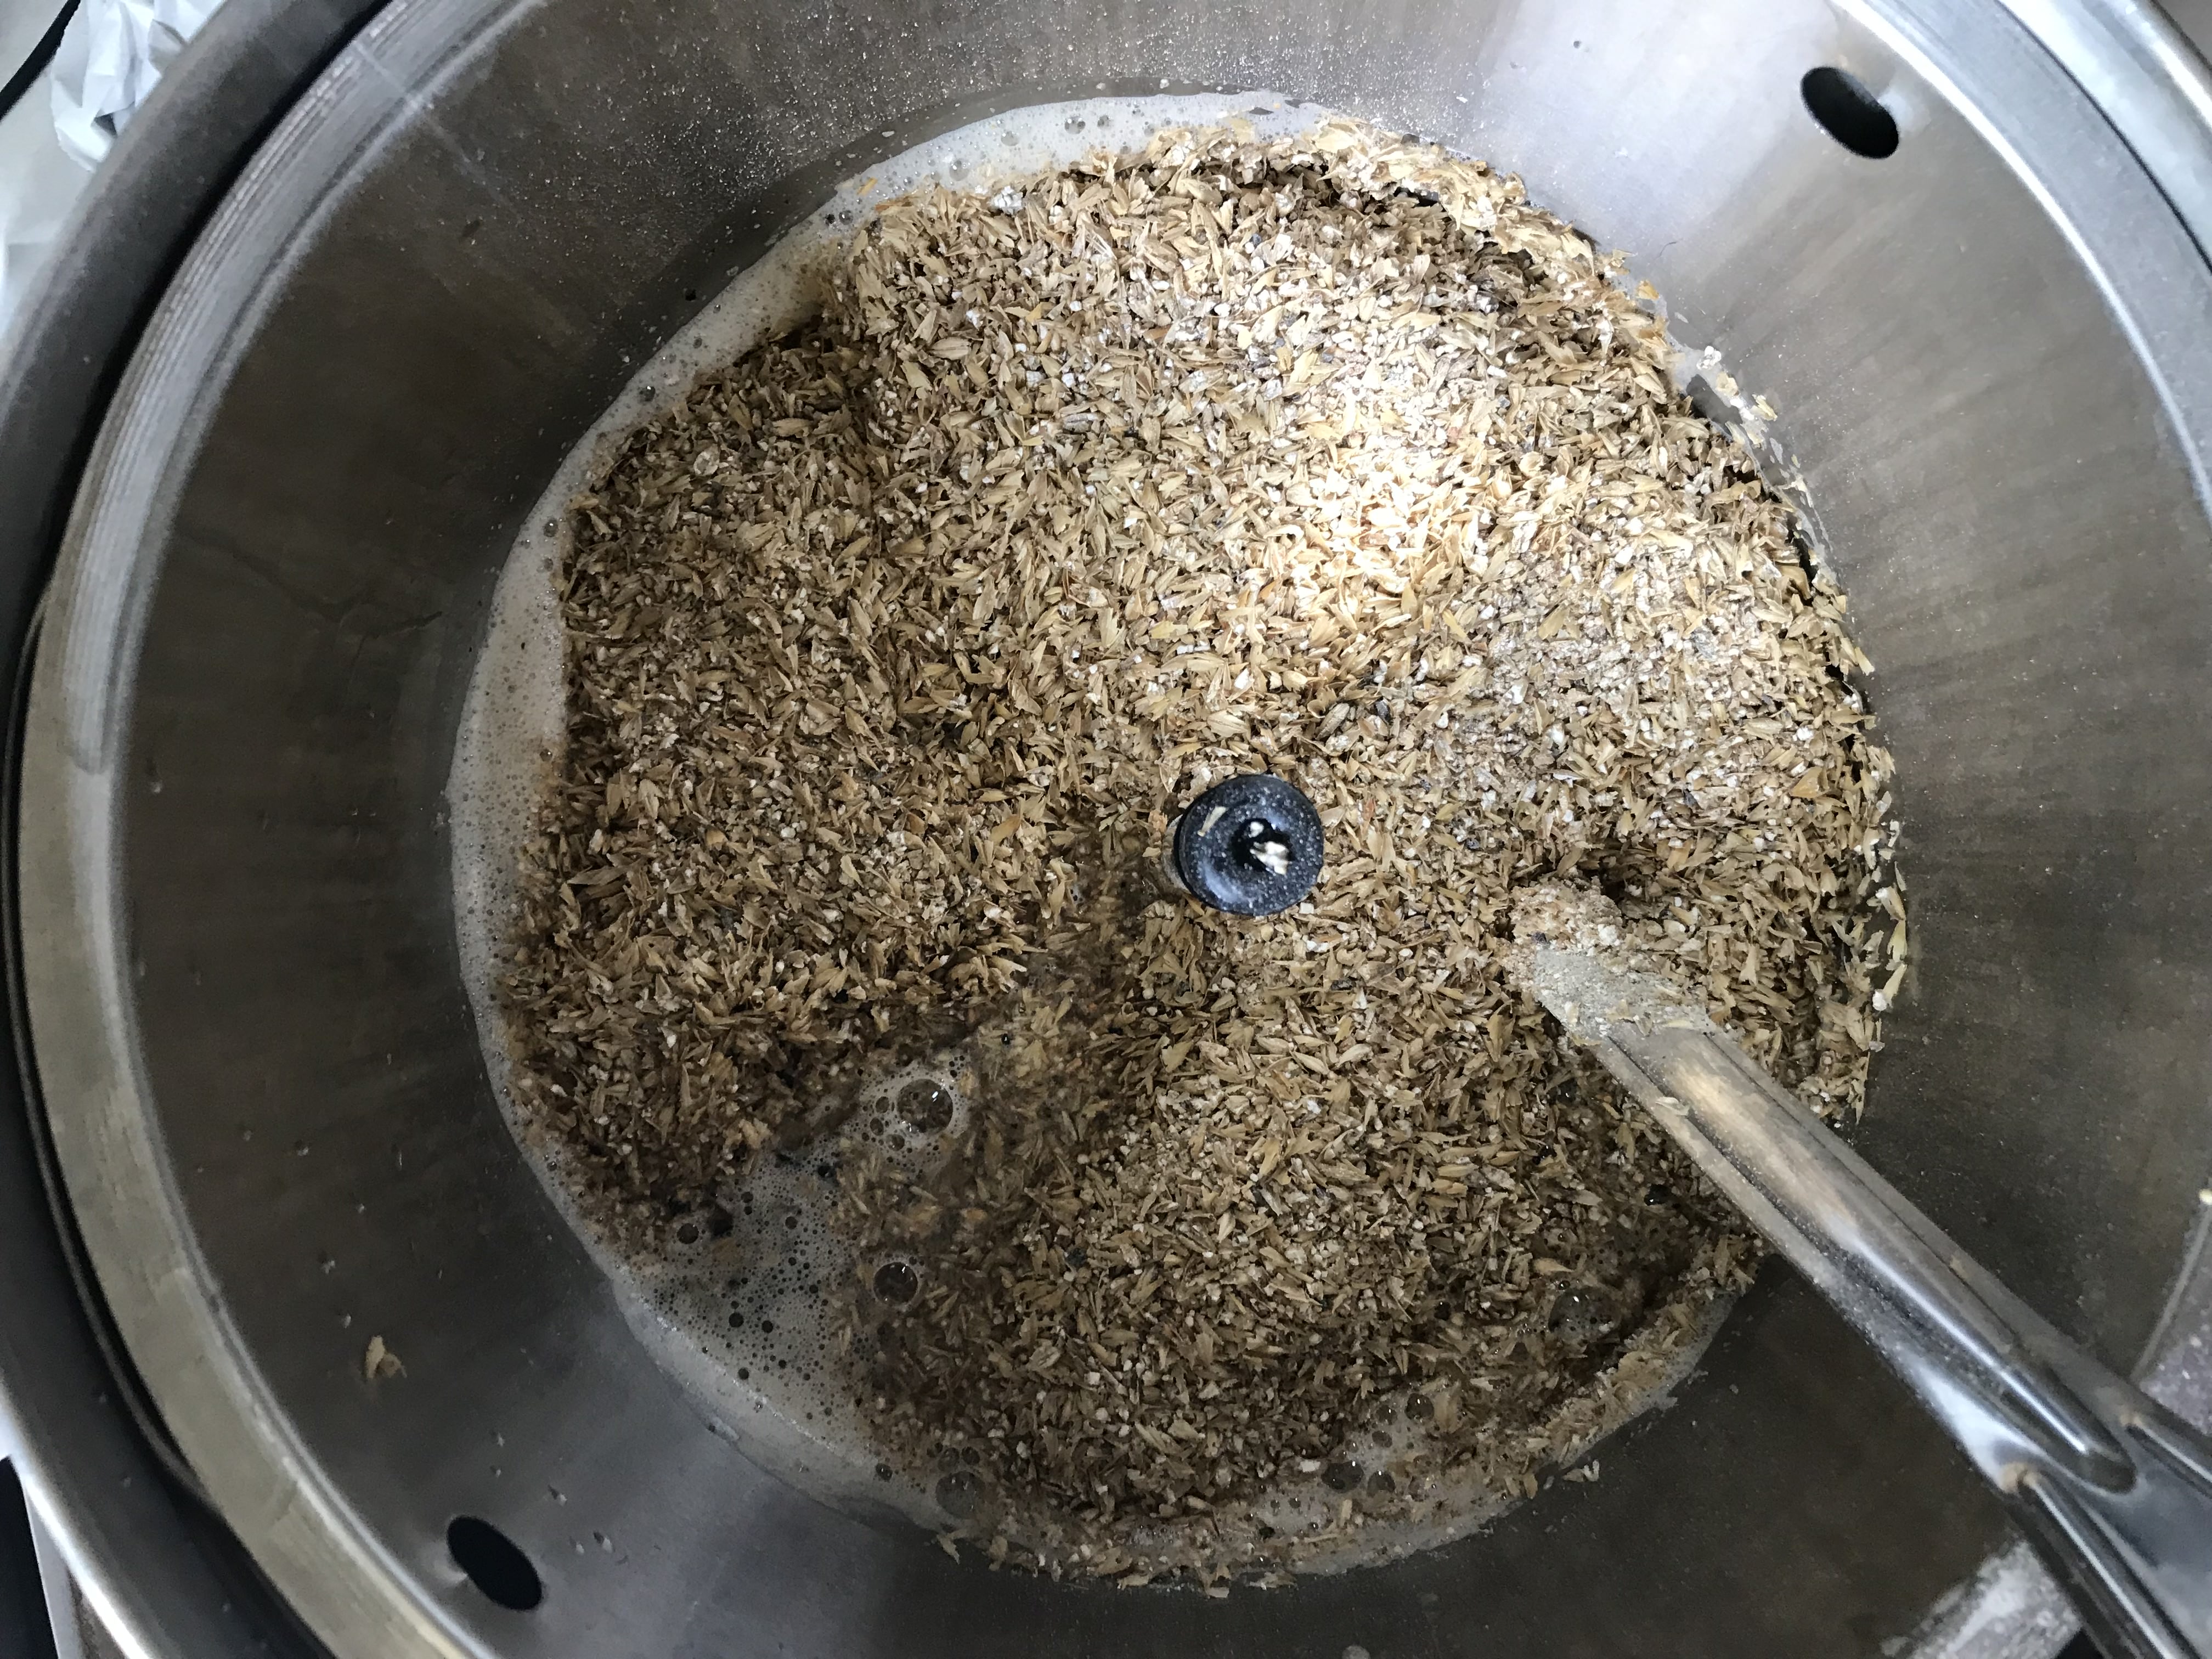
Step Five
Add the Strike (hot) water at a temperature that's recommended by your recipe. An example: Most recipes require 156F Strike water at 2 to 5 Gallons to make Wort. This is the critical stage, because the temperature of the water is going to determine the sugars, starches, enzymes that will create the body and fermentable sugars. At this stage you add your milled grains and specialty grains.
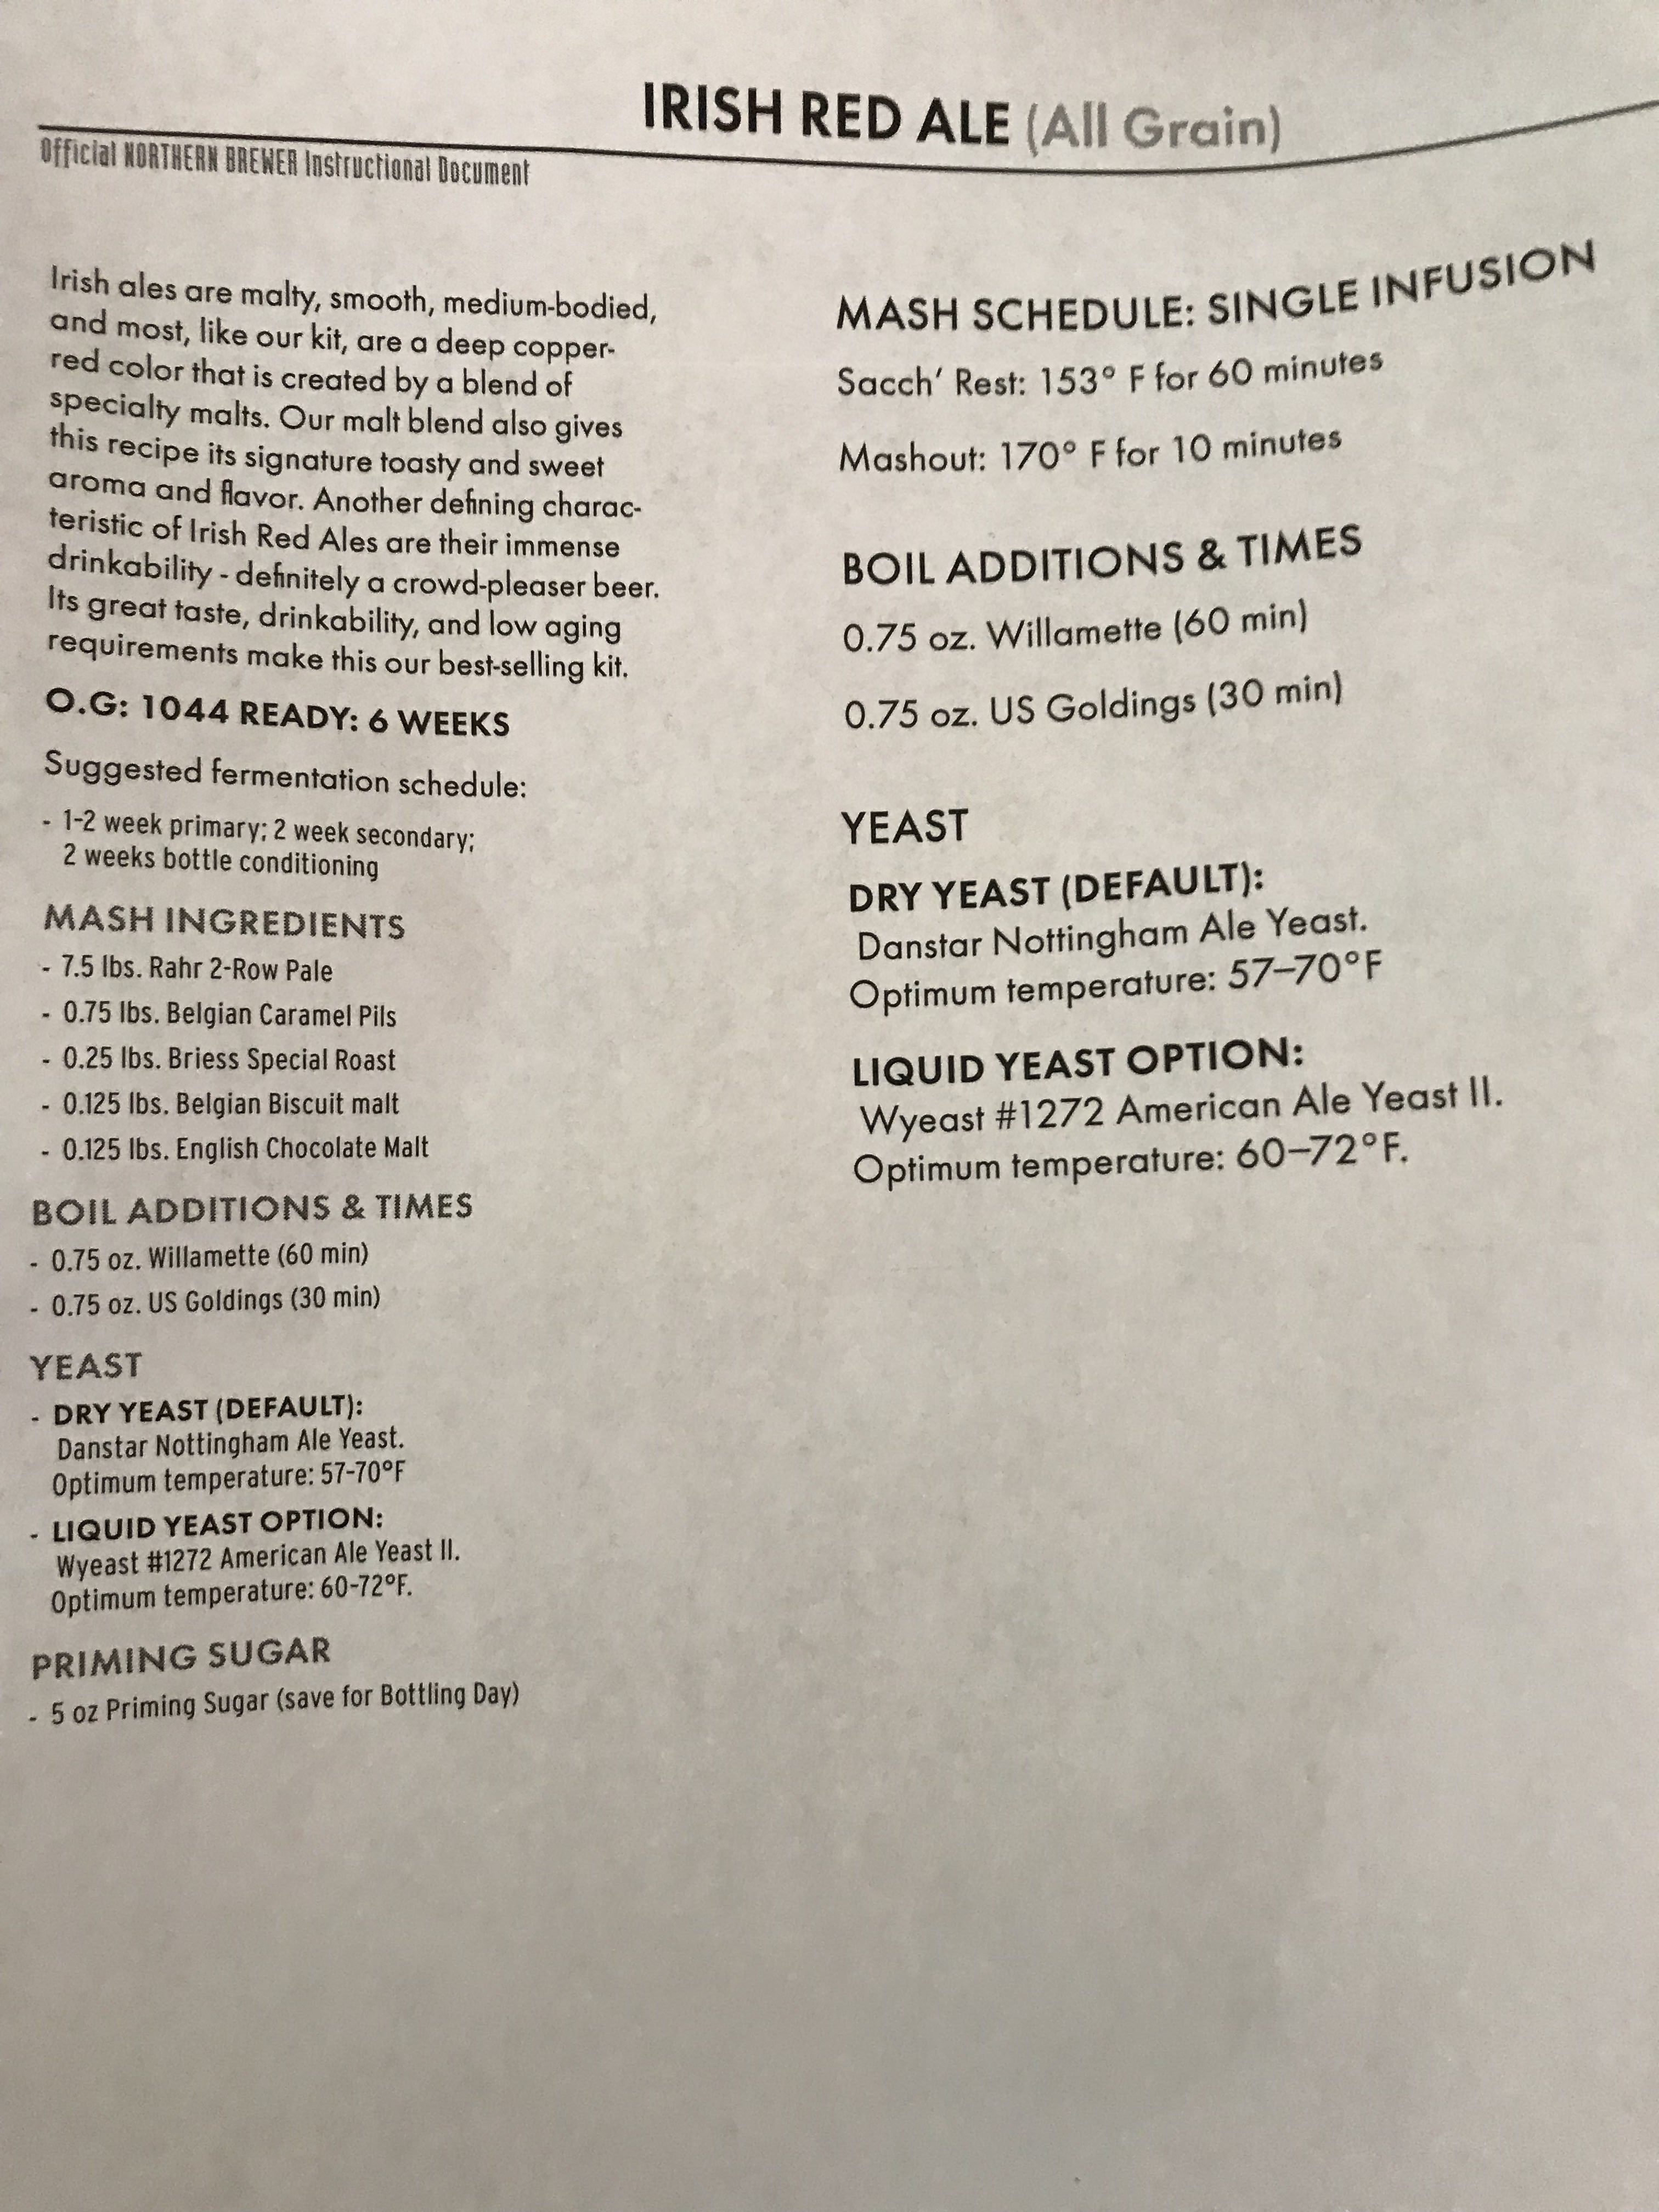
Step Six
Follow the receipe to the "T" Do not take shortcuts of alter the temperatures until told to do so. Stir constantly for the hour it states to create your "Mash". Some recipes require a Sac rest at 156F for 15min then increase the heat to 170F for the specialty grains as pictured. The temperature determines how much and what is pulled out of your grains. If its too hot to soon or not hot enough, you'll you'll change the taste and body of the recipe... Unfortunately, at this stage you have to FOLLOW INSTRUCTIONS! Later in the process it gets forgiving.

Step Seven
As you are now in the MASH stage of the process, you must either stir the wort or Sparge it. The wort needs to constantly be circulated or stirred to ensure it stays hot throughout and pulls the goodies out of the grains. I use a recirculating (sparge)pump for All Grain recopies and simply stir an Extract recipe. Your grains or syrup needs to be stirred so you don't scorch the wort at the bottom of your pot, so take it off the heat until it is dissolved completely
Step Eight
After the grains have been Mashed in for 60 minutes, its time for the 60 minute boil. This is where it gets somewhat forgiving. You add your hops, yeast nutrient, and other chemicals as required by the recipe. You can top off the batch with clean hot water to 6 gallons for a 5 gallon batch because you'll loose water in steam during a 1-hour boil. Do not cover the pot at this time. this rolling boil is going to sterilize the wort and steam out any impurities found in the water. When this final boil is over, you need to be ready to cool the Wort as quickly as possible from 220F boil to below 70F to an acceptable temperature for the yeast. Read the yeast packet to find out, as liquid and dry yeast get optimal results at different temperatures.

Step Nine
At "Flame out" or after the final 60 min boil, turn off heat and carefully transfer the Wort to the sterilized fermenter vessel. To do this easily your pot should have a spigot and hose attached and it will attach to a wort cooler (pictured). The wort cooler can be either hooked to a cold water hose or in a bucket of ice water. Open spigot and let the wort travel through the coil and cool where it will come out and into the fermenter at a nice 70F or lower. You need the wort cooled as fast as possible and into the fermenter quickly to keep it sterile. The wort is sterilized by the boil, the fermenter by the starsan sanitizer. If we let the wort cool on its own it would take forever and most likely get contaminated by the air which will produce mold in your beer. remember this beer will ferment for weeks at room temperature so if it's contaminated, nasty stuff will grow in it. Take a sample, taste it and test it with a refractormeter to get the gravity of the wort (sugar level). This is your Original Gravity, before the yeast is pitched and alcohol present. Your reading should be high in fructose and you'll test it later after its finished fermenting to get another sugar reading - the final Gravity. The difference in the readings will dictate the ABV% strength of your brew.
Step Ten
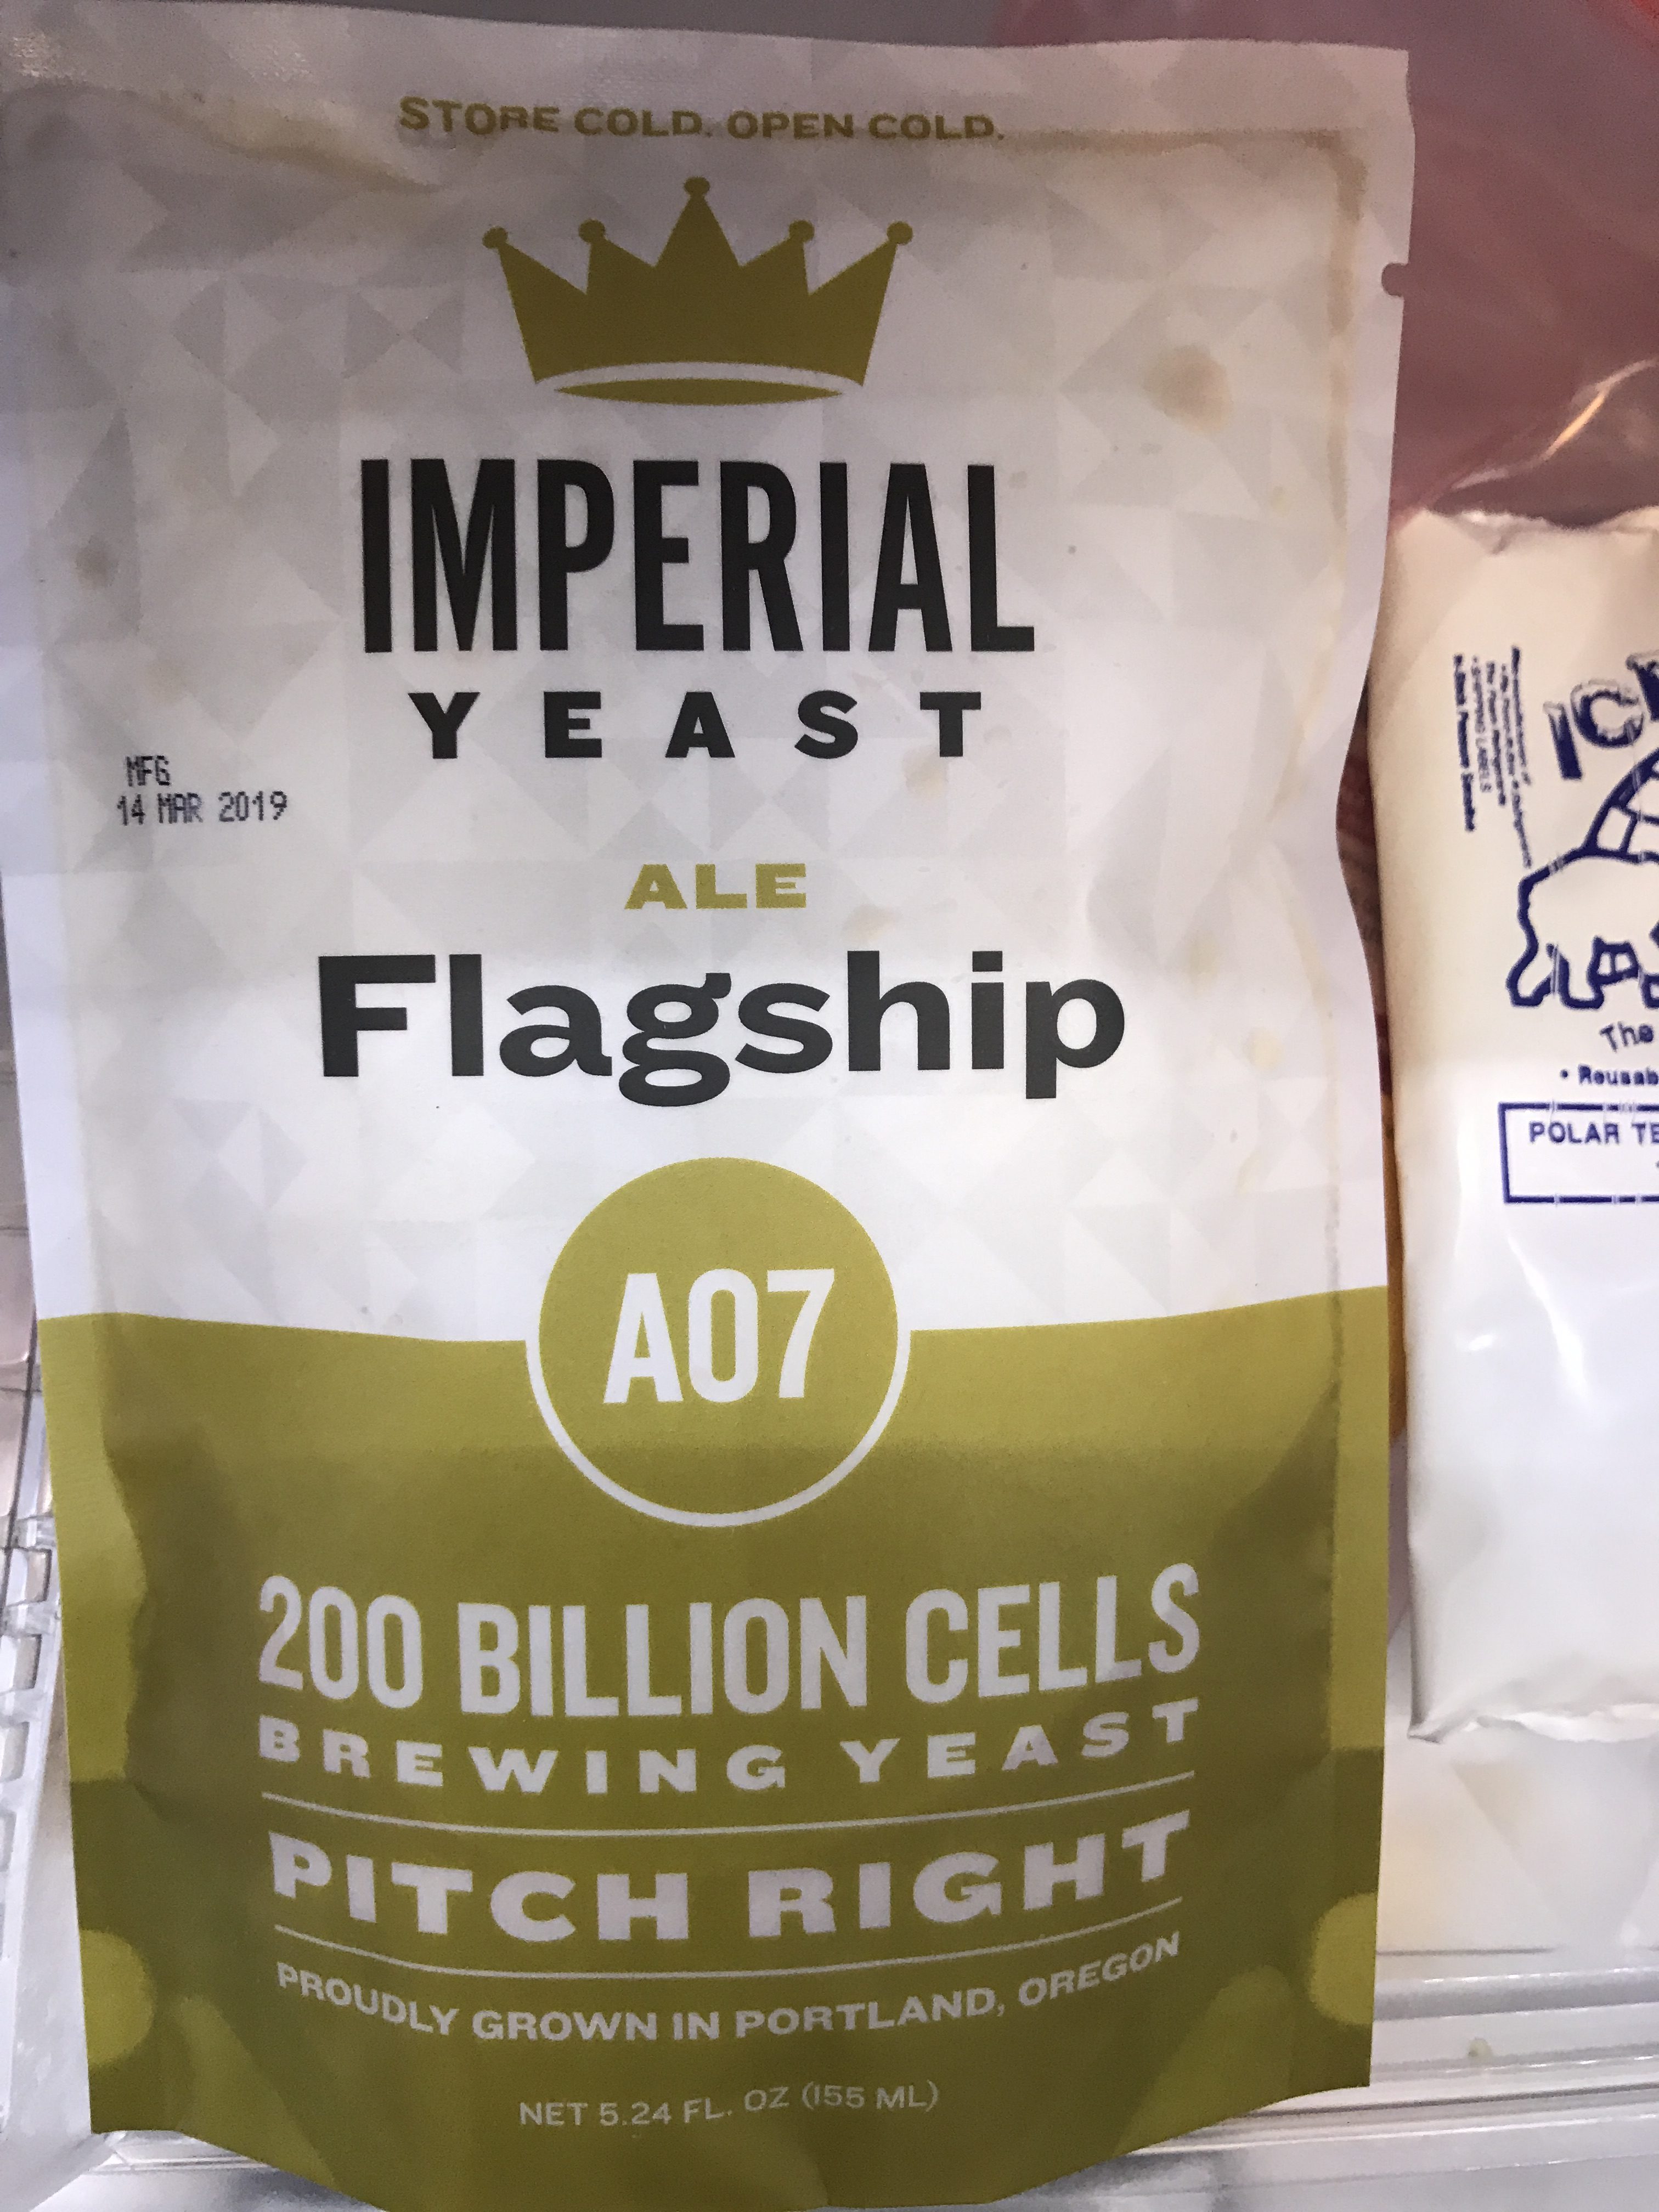
Once your Wort is in the fermenter and at the proper tempeture, you can "Pitch" or add the yeast. Follow the instructions on yeast packet. This is a critical stage due to the yeast turns the wort into beer by eating the sugars into alcohol. The wort will be in cloudy muddy looking stage at this time with alot of sediment, hops, and grain residue. At this stage you need to take a sample and set it off to the side to test the gravity. Once the wort is in the vessel, pitch the yeast and seal it up with a blubber. This allows the Co2 to escape and keep the outside air out, keeping it sterile. The foam is the sanitizer and is neutral and soapy. It will not harm the wort so, get out what you can and don't worry about the suds.
Step Eleven
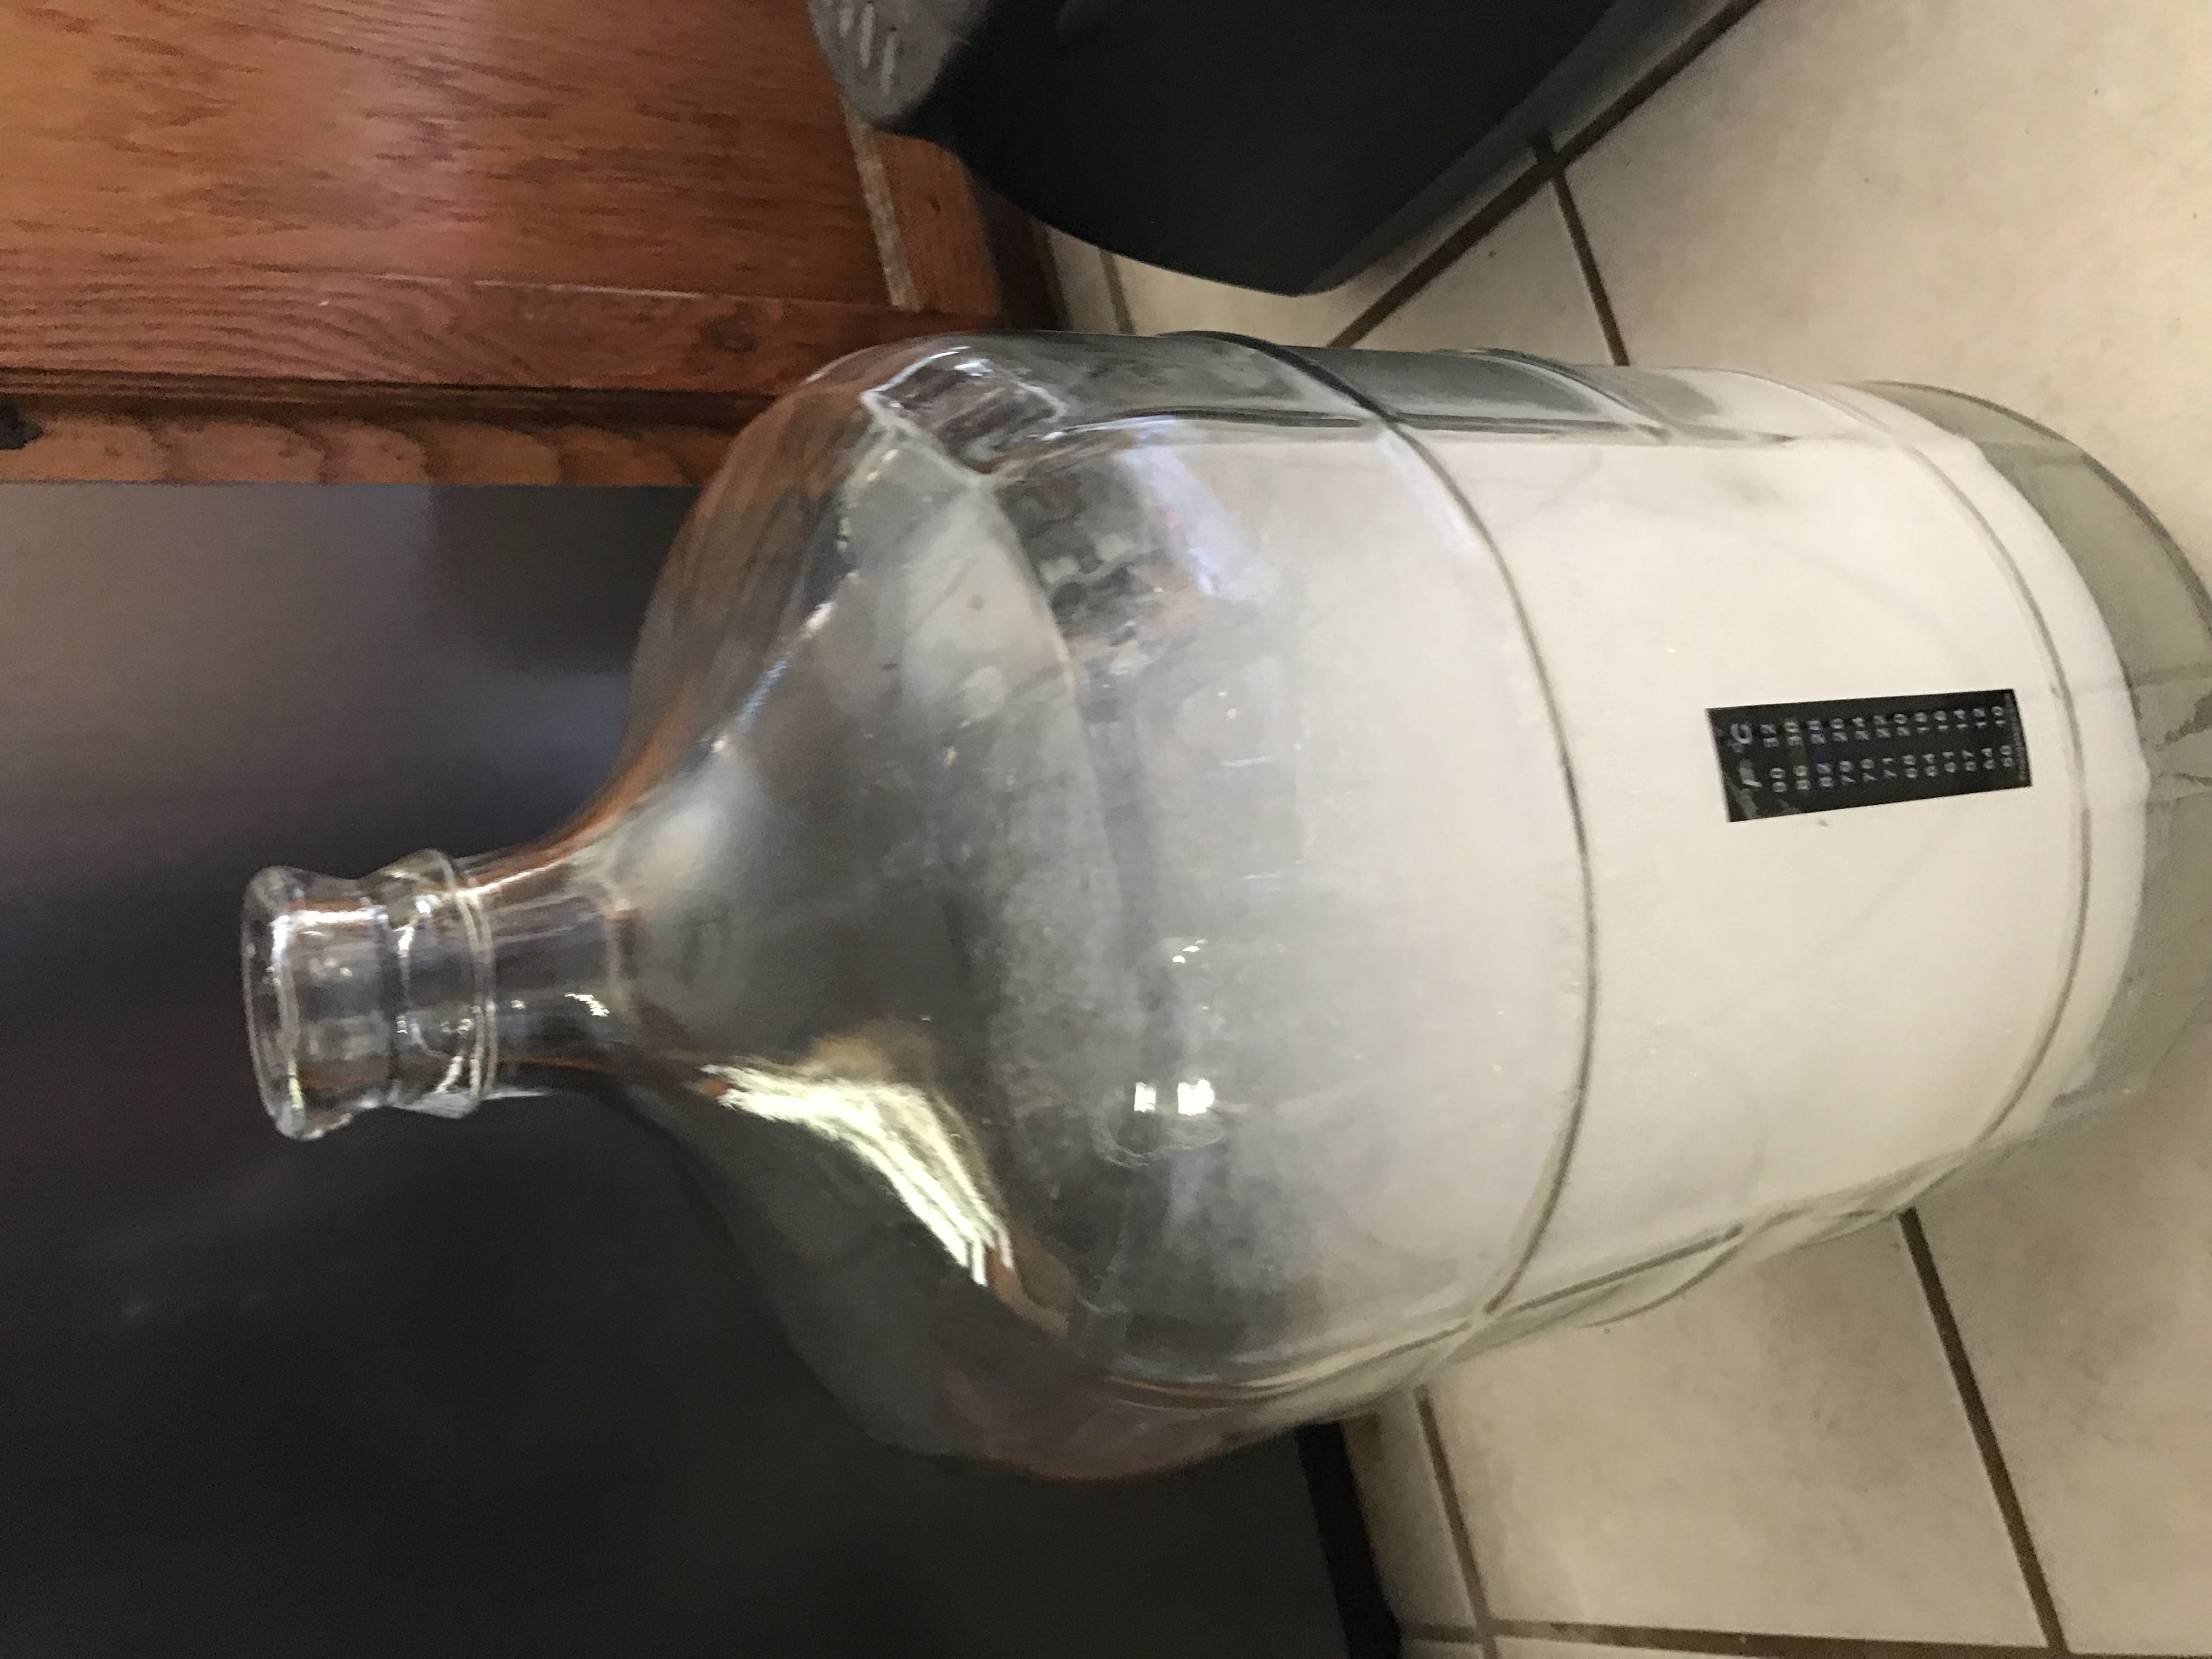
Aeraite the wort. You can either do this before or after you pitch the yeast. probably best to do it before? The yeast needs oxygen to activate and eat sugars, so either shake the crap out of the vessel or buy a oxygen bottle with a stone. I prefer shaking it because nothing gets inserted in the wort as a contaminate. the less the better anything comes in contact with your beer. It should look similar to the picture once its aerated. You need to remember... you want it aerated "before" it ferments. Once it ferments, oxygen is your enemy! so when it creates Co2, and finishes, dont shake or splash the "beer" it will go flat and taste nasty just like a flat beer weve all had before.

Step Twelve
At this point your almost finished. You have the fermenter all sealed up, in a cool dark place and waiting for the "ACTION" or fun to begin. Normally within one to three hours you should see activity in the blubber. The yeast will start replicating itself and turn the sugars into ethanol alcohol. This is kind of a critical stage in that the tempeture needs to be at the recommendations of the yeast pack. Too hot and it will ferment in a day or two and boil over, too cold and it will not start at all or be slow. No matter what, give it the full two weeks (14 days) to finish up. The blubber may stop, but the yeast is still working it's magic and needs time to eat those sugars, create alcohol, and finish out by clearing the byproducts it created. It can only do that if you leave it alone to do it own thing. This step affects taste, texture, body and strength.

Step Thirteen
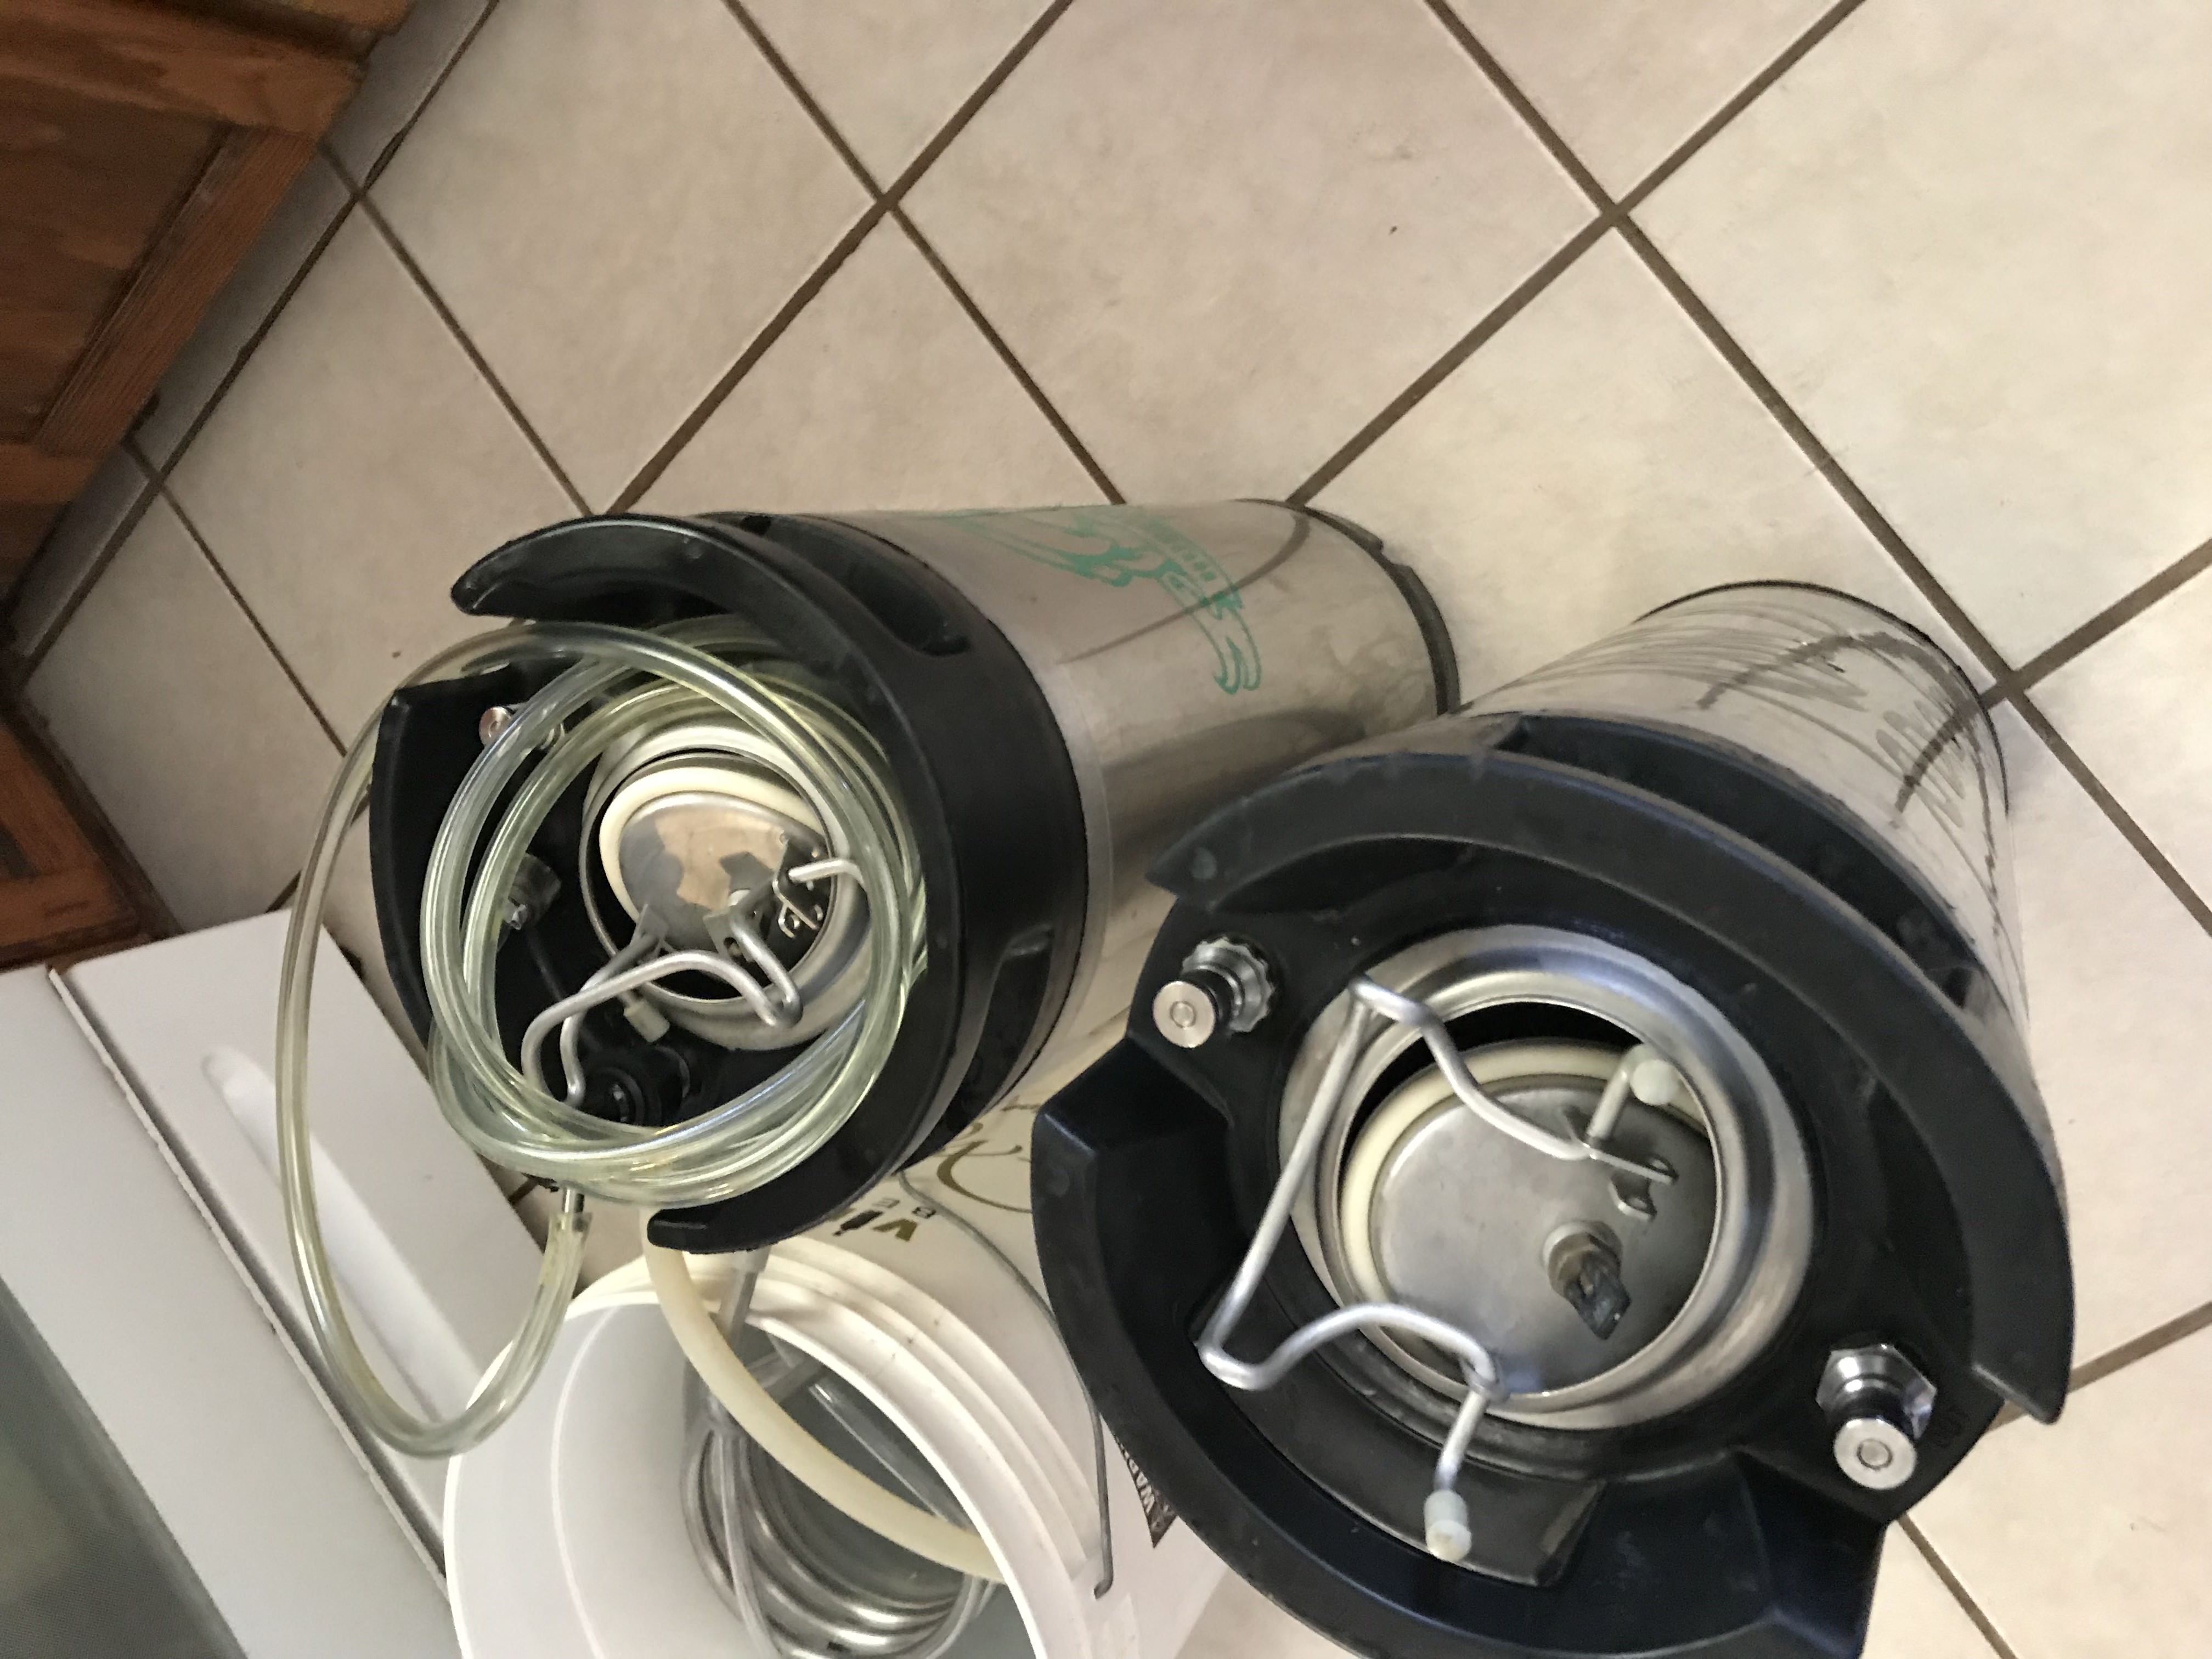
Two weeks in the fermenter and the beer has a huge "Crausen" or foam cap and a "Trub" of sediment on the bottom of the vesel. Now is the time to either transfer to secondary fermenter or bottle/keg the beer. If you want clear, crisp tasting beer, give it more time. If bottling, nows the time to boil water and add corn sugar to make a solution to mix with the beer to secondary ferment and create Co2 in the bottles or you wont have carbonation. I keg, so I simply fill the pepsi kegs, charge them to 20psi for three days and back it off to 12lbs pressure for serving.
Supplies/Recipes
You can find on the internet a vast community of home brewers and supplies. Ive found some supplies you don't skimp on and others you don't even need. Any hobby can get expensive, but home brewing is cheap! It saves money if you drink beer and is extremely fun to do. Its fresh, cheaper than buying, and you create beers that are not even sold. Your typical Craft Beer costs $5.50 and up at a pub. The cost per home brew averages out $1.50! You can get kits or create your own recipes/clones of your favorite styles (Ales, Lagers, pilsners, weizens, seasonals, etc., An endless source of possibilities. Basic needs are Three large pots 8 to 10 gallons each to boil clean water, Mash and Boil wort. You can use a cheap $30 cooler or a $500 Robobrew or $1,000 Grainfather to brew. It fits any ones budget, just different steps with each method.

Links
Here's some favorite links to get you started if you plan to try brewing your own beer. I recommend staying away from beginner kits because they are costly and you quickly grow out of them which makes it useless later when you brew using All Grain or even Extract brews. I would go mid range with $100 pots or if creative make and use your own vessels out of coolers or kegs. Coolers hold heat too. I prefer all stainless since they are easy to clean and last.
Beers in Progress
| M | T | W | T | F | S | S |
|---|---|---|---|---|---|---|
| 1 | ||||||
| 2 | 3 | 4 | 5 | 6 | 7 | 8 |
| 9 | 10 | 11 | 12 | 13 | 14 | 15 |
| 16 | 17 | 18 | 19 | 20 | 21 | 22 |
| 23 | 24 | 25 | 26 | 27 | 28 | 29 |
| 30 | 31 | |||||
ACE of Spades, American Pale Ale, Honey Ale, Dead Ringer Ale, Irish Red Ale, Wheat Bier, Octoberfest
